What Happens During a Home Inspection (A Seller's Perspective)
You’ve accepted an offer on your house. The contract is signed, your real estate attorney is reviewing the terms, and you’re feeling pretty good. Then the buyer schedules a home inspection, and suddenly you’re lying awake wondering if the inspector is going to find something that kills the deal.
Take a breath. Home inspections are one of the most predictable parts of selling a house. The process follows the same script every time, and 86% of inspections turn up at least one issue. That means almost every seller deals with this. The inspection isn’t a pass/fail exam. It’s just a professional looking at your house and writing down what they see.
Here’s exactly what happens, what the inspector is checking, and what you should do before they show up.
What a home inspection is (and isn’t)
A home inspection is a visual evaluation of your home’s major systems and components by a licensed inspector. The buyer hires and pays for it — typically $300 to $400 for a standard-sized home, though larger homes can run $500 or more.
The inspection is not a code compliance check. The inspector isn’t grading your house against current building codes. They’re evaluating the current condition of the home — does the roof keep water out, does the furnace heat, do the outlets work, is the foundation solid. They’re looking for material defects, safety hazards, and things that are broken or nearing the end of their useful life.
It’s also not an appraisal. The inspector doesn’t care about market value. They care about whether the house functions properly and safely.
What inspectors look at

The scope is set by national standards from organizations like ASHI (American Society of Home Inspectors) and InterNACHI. Every standard home inspection covers these ten areas:
Roof. Shingles, flashing, gutters, downspouts, vents, and chimneys. They’re looking for missing or damaged shingles, signs of leaks, and the general age and condition of the roof. Roof issues show up in about 20% of inspections.
Electrical. The panel, wiring, outlets, switches, and GFCI/AFCI protection in bathrooms, kitchens, and garages. Improper wiring is found in about 20% of inspections and is the second most common defect nationwide.
Plumbing. Water supply, drains, water heater, fixtures, and functional water flow. They’ll run every faucet, flush every toilet, and check under every sink for leaks. Plumbing issues show up in roughly 30% of inspections.
HVAC (heating and cooling). The furnace, air conditioner, heat pump, ductwork, and thermostat. They’ll turn the system on and check that it heats and cools. They won’t tear open the unit, but they’ll flag anything that seems off.
Foundation and structure. The foundation walls, floors, load-bearing walls, columns, and any visible structural components. Cracks in the foundation are common and usually cosmetic. Major structural problems are found in about 10% of inspections.
Exterior. Siding, trim, soffits, windows, doors, porches, decks, driveways, and grading. Here’s the big one: improper surface grading and drainage is the single most common defect found during inspections, showing up in 36% of cases. Water pooling near your foundation is the inspector’s top concern.
Interior. Walls, ceilings, floors, stairs, railings, countertops, and cabinets. They’ll check for water stains, cracks, and anything that suggests a deeper problem.
Attic and insulation. Insulation type and depth, ventilation, and signs of moisture or pests. About half of inspections find insulation or ventilation problems.
Windows and doors. Operation, seals, locks, and weatherstripping. Window defects are among the top three most frequently noted issues.
Fireplace and chimney. Dampers, firebrick, hearth condition, and chimney exterior. If you have one, they’ll check it.
What’s NOT included in a standard inspection: environmental testing (radon, asbestos, lead paint, mold), pools, detached structures, and anything behind walls. Well and septic systems are also outside the scope of a standard inspection and require separate specialized inspections — more on that below.
Well water inspections for rural properties
If your home has a private well, the buyer will likely order a separate well inspection on top of the standard home inspection. This is a distinct process with its own scope, cost, and specialists. Most lenders require it for mortgage approval on well-water properties, and even cash buyers should insist on one.
A well inspection is not a water test, though a water test is usually part of it. Here’s what a well inspection actually covers:
Water quality testing. The inspector or a certified lab tests for coliform bacteria, E. coli, nitrates, pH, and often iron, manganese, and hardness. Some lenders require specific parameters. FHA and VA loans, for example, mandate coliform and nitrate testing at minimum. A basic panel costs $100-$350 through a state-certified lab. If the property is near agricultural land, industrial sites, or military bases, the buyer may also request testing for pesticides, volatile organic compounds, or PFAS.
Flow rate testing. The inspector measures how many gallons per minute (GPM) your well produces. Most lenders require a minimum of 3-5 GPM for residential use. A family of four running two showers and a kitchen faucet simultaneously needs about 6-7 GPM. Low flow rate doesn’t necessarily mean a failing well — it can mean an undersized pump, a depleted aquifer, or a well that needs rehabilitation. But it’s a negotiation point, and a GPM test below the lender’s minimum can stall the loan.
Equipment inspection. The well professional checks the visible components: the well cap and seal, the casing condition and height above grade (should be at least 12 inches), the pressure tank, pressure switch, and wiring. They’ll verify the wellhead meets local code for setback distances from septic systems, property lines, and potential contamination sources.
Well history and documentation. If you have your well driller’s report (the log from when the well was drilled), well permits, or records of past water tests and maintenance, gather them. Buyers and their inspectors will ask for these. Not having them isn’t a dealbreaker, but having them builds confidence that the well has been properly maintained.
What a well inspection costs: $250-$500 for the inspection itself, plus $100-$350 for the water quality testing. The buyer typically pays, just like the standard home inspection. Total: $350-$850.
As a FSBO seller, here’s your move: Get your water tested before you list, not after. A clean water test result that you can hand to the buyer’s inspector removes uncertainty from the deal. If you know the flow rate is strong, mention it in your listing. If there’s a treatment system installed (iron filter, softener, UV), document what it is and when it was last serviced. Buyers on well water want confidence that the water is safe and the system is maintained. Showing them the paperwork gives them that confidence before the inspection even happens.
A well inspection is fundamentally different from a general home inspection. The general inspector checks whether the house functions. The well inspector checks whether the water supply is safe, adequate, and sustainable. Both matter, but for rural properties, the well inspection can make or break the deal faster than a cracked foundation.
For the full breakdown of how to handle whatever the inspection turns up, read the FSBO inspection and closing process.
How to prepare before the inspection
You can’t “study for” a home inspection, but you can make sure the inspector has a clean look at everything and isn’t distracted by minor stuff. A little prep goes a long way.
Clear access to everything. The inspector needs to reach your electrical panel, furnace, water heater, attic access, and crawlspace. If any of these are blocked by storage boxes, shelving, or holiday decorations, move them. An inspector who can’t access a system has to note it as “unable to inspect,” which creates uncertainty for the buyer.
Fix the obvious stuff. That leaky kitchen faucet, the GFCI outlet that doesn’t reset, the bathroom exhaust fan that sounds like a lawnmower. These are cheap fixes, and every one of them will end up in the report if you leave them. A $5 faucet washer now saves you a bullet point the buyer can use against you later.
Replace burned-out light bulbs. This sounds trivial, but inspectors test every light switch. If a bulb is dead, the inspector may note the fixture as “inoperable” and recommend further evaluation. Change them all.
Check your gutters and drainage. Since grading and drainage is the number one defect inspectors find, walk your property after a rain. If water is pooling against your foundation or your downspout extensions are missing, fix it before the inspector documents it.
Make sure all pilot lights are on. Gas fireplaces, water heaters, furnaces. If the pilot is out, the inspector can’t test it and will note it as a deficiency.
Leave utilities on. All of them. If the house is vacant, keep the water, gas, and electricity connected through closing. The inspector needs every system operational.
None of this is hiding anything. You’re just making sure the inspector sees your house at its best and doesn’t get sidetracked by items you could have handled for a few bucks.
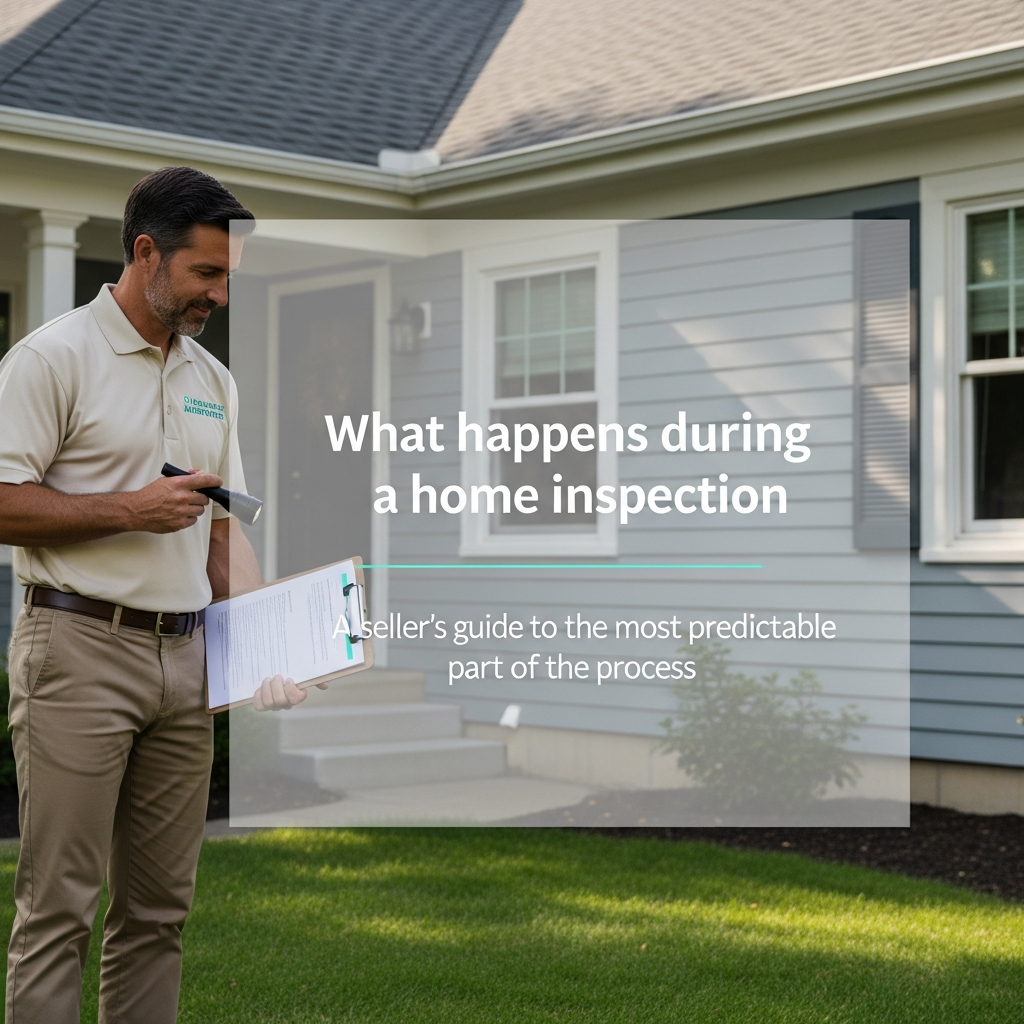
What happens on inspection day

The buyer schedules the inspection, usually within 7 to 10 days of the accepted offer. They’ll coordinate with you on a date and time. The whole thing takes 2 to 4 hours on-site, depending on the size and age of your home. A 2,000-square-foot house typically takes about 3 hours. Older homes take longer because there’s more to flag.
You should not be home. Leave. Go get lunch, run errands, whatever. The buyer and their agent will usually attend the inspection, and having you hovering around makes everyone uncomfortable. The buyer needs to feel free to ask questions. The inspector needs to work without someone peering over their shoulder explaining why that crack isn’t a big deal.
The inspector starts outside — roof (visually or by drone), siding, grading, exterior components — then works through the interior systematically. They’ll open every cabinet under a sink, test every outlet and switch, run every faucet, flush every toilet, turn the HVAC on, check the attic, and check the crawlspace if there is one. They take photos of everything they want to document.
When they’re done, they’ll often do a verbal walkthrough with the buyer right there. The formal written report follows within 24 hours in most cases.
What the report looks like
Inspection reports are long. 30 to 50+ pages with color photos, descriptions, and recommendations. The first time you see one, it looks terrifying. It’s supposed to. The inspector’s job is to document everything, and everything includes observations that don’t actually matter.
Here’s how to read it without panicking: focus on the summary page. Most reports have a summary that separates items into categories like “safety hazard,” “major defect,” “improvement recommended,” and “maintenance item.”
Safety hazards and major defects are the only items that typically affect negotiations. These are things like a deteriorated roof, a cracked heat exchanger, knob-and-tube wiring, foundation movement, or active water intrusion. These can cost thousands to fix and buyers will reasonably ask for resolution.
Improvement and maintenance items are things like caulking that needs refreshing, a missing handrail, or weatherstripping that’s worn. These are normal wear and tear. They’re in the report because the inspector documents everything, not because they’re dealbreakers.
In my experience, most of the report is maintenance items. The handful of significant findings are what you’ll actually negotiate over.
What happens after the report
Once the buyer has the report, they’ll come back with a list of requested repairs or credits. This is the repair negotiation, and it’s a normal part of almost every home sale. 83% of buyers ask for some kind of concession after the inspection.
You have three basic options for each request: fix it, offer a credit so the buyer can fix it themselves, or push back and decline. Your real estate attorney is your best resource here — they’ve seen hundreds of these negotiations and can tell you which requests are reasonable and which ones are the buyer fishing for a discount.
For the full breakdown of this process, including the timeline from offer through closing, how to handle repair negotiations, and what to expect at the closing table, I covered all of it in The FSBO Inspection and Closing Process.
Don’t skip the prep
The inspection is coming whether you’re ready or not. Walk your house this weekend with fresh eyes. Check your gutters, test your outlets, make sure every system is accessible and working. An hour of prep won’t make problems disappear, but it keeps the inspector focused on real issues instead of a list of things you could have fixed for $50.
Your house doesn’t need to be perfect. It just needs to not surprise you.
Keep reading

Best flat fee MLS services in Florida (2026)
A refreshed side-by-side comparison of Florida flat fee MLS companies, with real pricing, closing-fee fine print, and which services are actually flat.

How to handle unrepresented buyers when selling FSBO
More buyers are ditching agents after the NAR settlement. Here's how to sell your home directly to an unrepresented buyer, what paperwork you need, and why this is the best deal a FSBO seller can get.

How to Create a FSBO Listing That Attracts Serious Buyers
Your listing does the job you'd otherwise pay an agent $24,000 for. Here's exactly how to get the photography, description, platform, and timing right.